What we'll build
A “New Contact” page — a clean little form with a few fields and a Save button that creates a Contact record. Simple, but it exercises every move a data-entry page is made of.
Before placing a single element, say out loud what you're making. On this platform a page always starts with an intent:
INTENT: This is a Data Entry page that creates a Contact.
Shows:   a form — name, email, status, account — and a Save button.
Does:    collects the fields into a contact object, then invokes
         a server function to create the record.
That tells us this is a navigable create screen — a page a user opens, fills in,
and submits. It is not a button action. (A one-click “convert”/“approve” action would be a
layout_button function — the Zero Rule from Trail 01.) A standalone create page like this
one is exactly the kind of screen pages are for.
Bind the inputs → collect them into a contact object → invoke a create function → toast the result. Learn that shape and you can build most data-entry screens.
A Contact object to save into, and a server function — something like
createContact__fx — that takes a single contact input and inserts the
record. (Trail 01 taught you to build exactly that kind of function.) The API names here
(contact__m, account__m, the field apis) may differ in your org — you'll
pick the real ones, so you never have to guess.
The rtext shell
A custom page is one rtext with three parts — HTML, CSS and JS — each edited in its own field. Lay the skeleton first; wire it later.
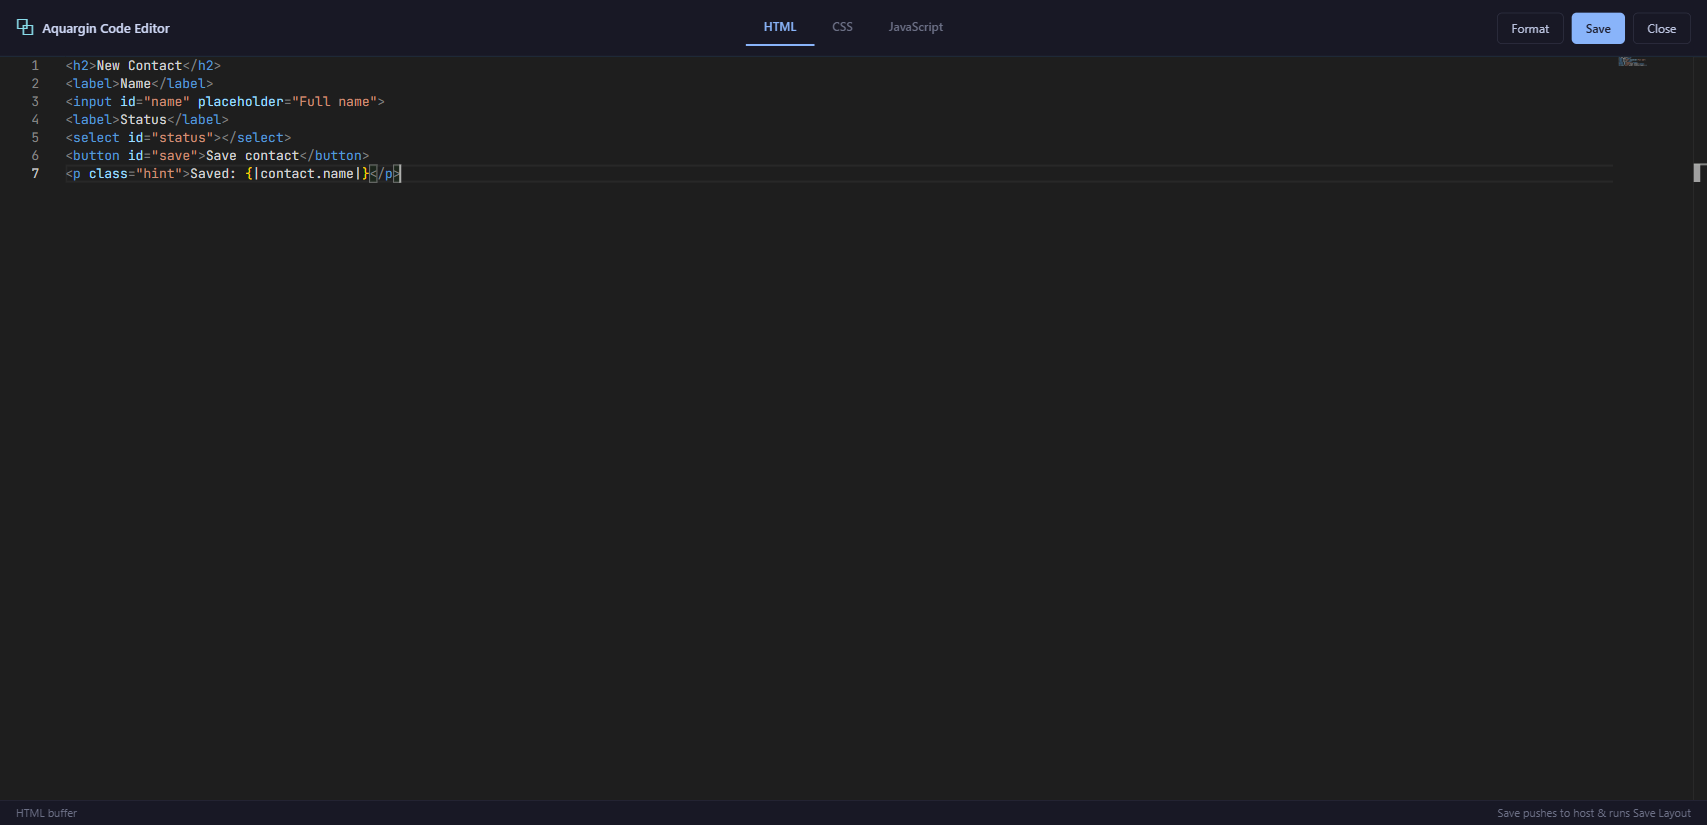
Start with plain markup: a heading, a couple of labelled inputs (each with an id so we
can bind it), a Save button, and a {|status|} placeholder for a confirmation message:
<section class="new-contact">
  <h2>New Contact</h2>

  <label>Name</label>
  <input id="f-name" type="text">

  <label>Email</label>
  <input id="f-email" type="text">

  <button id="save">Save Contact</button>

  <!-- live status text, rendered by rtext -->
  <p class="status">{|status|}</p>
</section>
A little CSS gives it shape — this lives in the config.css field, never inside the HTML:
.new-contact { max-width: 420px; display: grid; gap: 10px; }
.new-contact label { font-weight: 600; }
.new-contact .status { color: #2fae74; min-height: 1.2em; }
And the brain — config.js — is empty for now. We fill it in the next three units:
// variables + binds go here — one line each. Empty to start.Keep HTML, CSS and JS in their three separate fields. Do not paste one
giant chunk of markup with <style> and <script> tags inside it —
the rtext architecture expects them split, and that split is what lets the binding engine wire your
elements up.
The object variable
A page declares what it works with up front. For a create form, that's one object variable to hold the record you're building.
In config.js, declare the page's variables before any bind. We need two: the record itself, and a small UI flag we'll use for the button's loading state:
ctx.vars([
  { name: 'contact',  type: 'object',  objectApi: 'contact__m' },
  { name: 'isSaving', type: 'boolean' }
]);
The contact variable is an object-pattern variable: it carries a whole
record, and every field on the form binds into it — contact.name,
contact.email__m, and so on. You group the fields inside the object (or a wrapper), rather
than scattering a loose name, email, status as separate
scalars. One object in, one object out.
The isSaving boolean is pure UI state — no field, no record, just a flag the button
toggles while it waits. Declaring it now means the bind in Unit 5 can lean on it.
Collecting fields into a single contact object means your Save function receives one
tidy input — {name:'contact', value:'contact'} — instead of a fistful of separate
arguments. It also mirrors how the record is shaped in the database. The full object/wrapper story —
nested objects, lists of children, repeating rows — is Module P4; for now, one object
for one record is all you need.
Binding the fields
Now the heart of the page: one ctx.bind per field. Each
line connects an element to a path inside contact — that's the whole job.
Add these to config.js, right after the variables. Four fields, four binds:
// 1 — name: a plain text box. Type is inferred from the field.
ctx.bind('#f-name',  'contact.name', { required: true });

// 2 — email: another text input
ctx.bind('#f-email', 'contact.email__m');

// 3 — status: a picklist with fixed options
ctx.bind('#f-status', 'contact.status__m', {
  type: 'picklist',
  options: ['New', 'Active', 'Lapsed']
});

// 4 — account: a lookup to another object, shown by its name
ctx.bind('#f-account', 'contact.account__m', {
  type: 'lookup',
  object: 'account__m',
  displayField: 'name'
});
A few things worth noticing:
- The path is where the value lives —
contact.name,contact.email__m. Type the real field apis from your org; they may differ. - Type is auto-resolved from the bound variable, so most binds need no
typeat all. You only spell it out when you're shaping the control — apicklist's options, or alookup's target object and display field. - Options like
{required:true}(and friends such as{disabledWhen:'isSaving'}) ride along in that third argument.
Remember to add the matching <select id="f-status"> and
<input id="f-account"> to your HTML so these binds have something to attach to.
One ctx.bind wires up everything: it reads the current value into the
element, writes the user's input back into contact, listens on the right event for that
control, and re-syncs when the data changes. No addEventListener, no
ctx.set(...) plumbing, no manual DOM reads. That's why a whole form is just a handful of
lines.
Save it & test
One last bind wires the button to your server function. Then open the page, fill it in, and watch a Contact appear.
The Save button isn't a link and isn't an onclick — it's a ctx.bind on the
click event that invokes your function:
ctx.bind('#save', 'click', {
  invoke:      'createContact__fx',
  params:      [{ name: 'contact', value: 'contact' }],
  loadingWhen: 'isSaving',
  onSuccess:   () => ctx.toast('Saved!', 'success')
});
Read that left to right: on click, invoke the function
createContact__fx, hand it one param named contact whose value is our
contact variable, flip isSaving true while it runs (so a
{disabledWhen:'isSaving'} control greys out), and on success pop a toast. That's the
entire submit path — five lines.
When you save the page, every invoke is validated against the real function. The
target — here createContact__fx — must exist, be
compiled, and be active, and each params name must
match one of the function's declared inputs. Get the name or a param wrong and the page won't save
until you fix it. (The __fx suffix marks a function callable from a page.)
-
Save the page
Hit Save. The rtext compiles, the binds register, and the invoke is validated. If
createContact__fxisn't there or isn't active, you'll hear about it now — not from a confused user later. -
Open it and fill it in
Navigate to your new page. Type a name and email, pick a status, choose an account. Each keystroke flows straight into the
contactobject behind the scenes. -
Click Save & confirm
Click the button.
createContact__fxruns, the new Contact lands in the database, and the{|status|}placeholder updates while the “Saved!” toast confirms it. Open the Contact list — your record is there.
One rtext, one object variable, a few binds, and a save button — a complete create screen, saved and tested. Next, Module P3 — Page Archetypes shows the other shapes (lists, dashboards, detail screens) you'll reach for. And when your form needs nested objects and repeating rows, Trail 03 — Master rtext goes deep. Pass the checkpoint to claim your Page Builder stamp.
Earn the Page Builder stamp
Five questions on what you just built.