What we'll build
A button on the Lead record that, when clicked, sets that lead's Status to Qualified — instantly, with one click, no edit screen.
It's the smallest useful function there is, and it exercises the four moves you'll repeat in almost every function you ever build:
Receive an id → read the record → change a value → write it back. Master that loop and you can build most of a CRM.
Access to your org's Functions area, and a Lead object with a
Status picklist field. The exact API names (e.g. lead__m,
status__m) may differ in your org — you'll pick them from dropdowns as you go,
so you never have to guess.
Declare your intent
Good builders say out loud what they're about to make before placing a single node. It takes ten seconds and prevents most mistakes.
The shape of an intent statement is always the same:
INTENT: This is a layout_button function that
        marks a Lead as Qualified.
Receives: recordId (text) — the id of the clicked Lead.
Returns:  nothing — it just updates the record.
That one sentence already told us three decisions:
- The call context is
layout_button— it's a button action (the Zero Rule from Module 01). - Its input is
recordId, atextvalue the button will hand us. - There's no output — the result is the saved record itself.
Keep your intent visible while you build. If a node doesn't serve the intent, you don't need it. YAGNI keeps functions small and fast.
Create the function & define the input
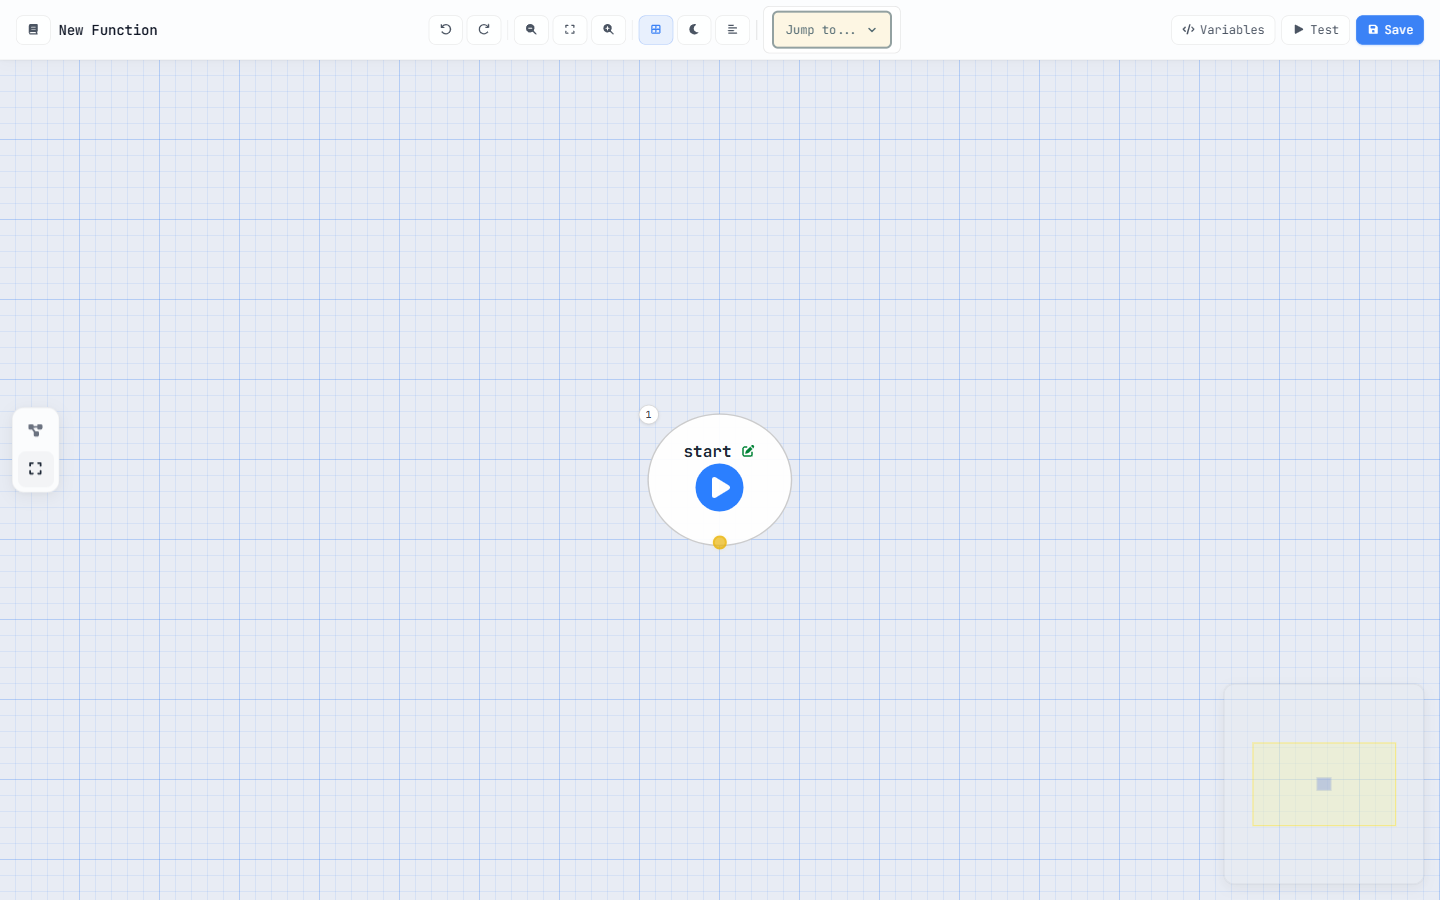
Open a fresh board and tell it two things: what to call the function, and what data it receives.
-
Open a new function
Go to the Functions area and create a new function. Name it something clear like
mark_lead_qualified. (Function names that are wired to buttons carry an__fxsuffix under the hood — the platform manages that for you.) -
Set the call context to
layout_buttonThis is the single most important choice. It tells the platform the function will be launched from a button and will receive a record id.
-
Declare the input parameter
Open the Variables panel and add the input the button will pass:
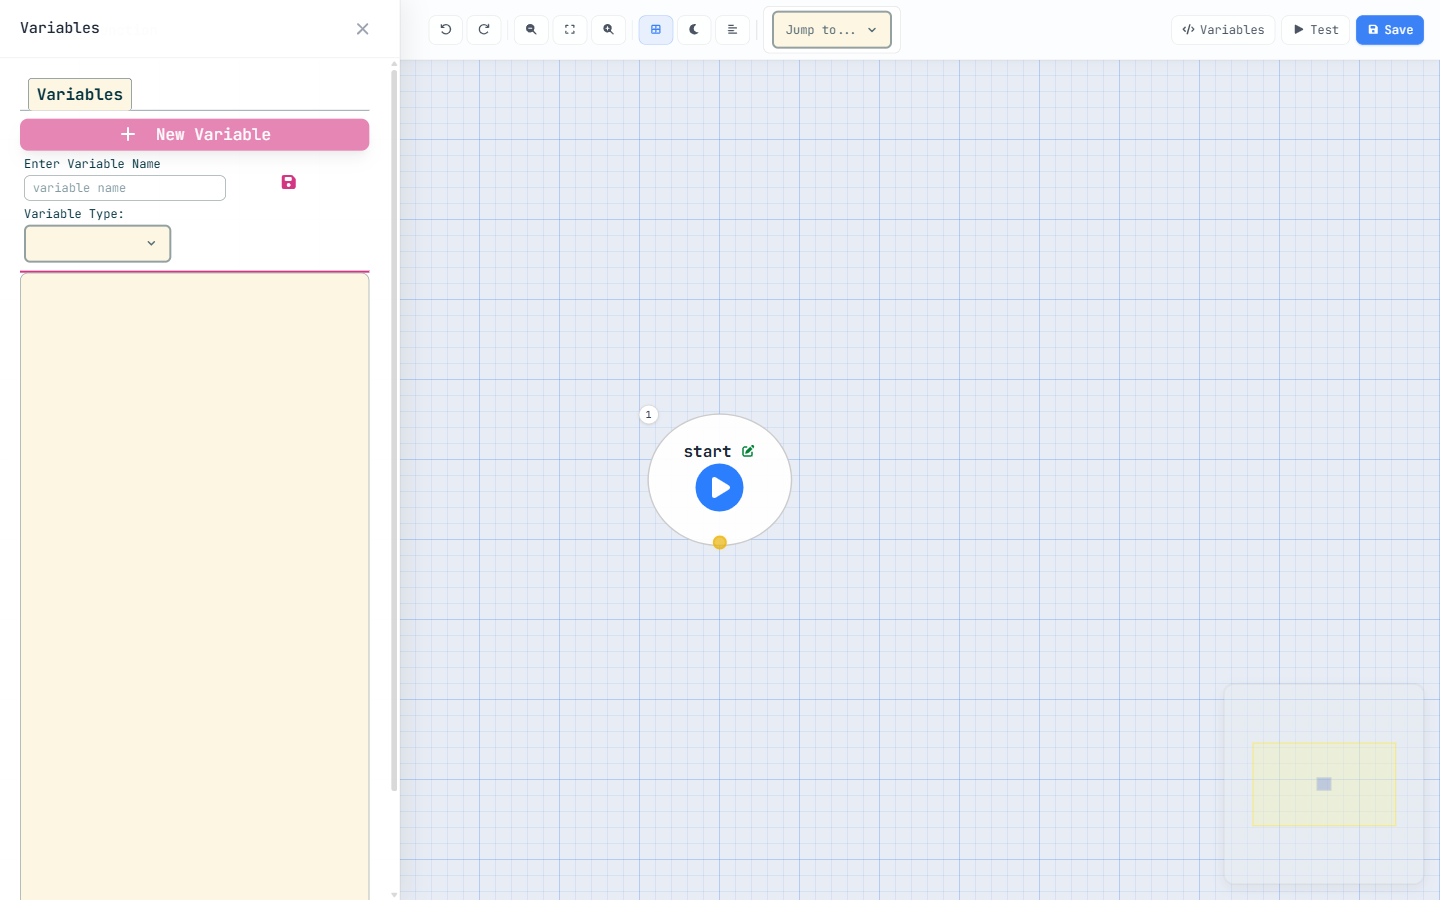
Fig 2 Add recordIdas a text input. Add a second variable,lead, of type object (Lead) to hold the record we're about to load.
recordId (text) is the input — it arrives from the button.
lead (object) is a working variable — empty for now, it'll hold the record
we query next. Input parameters are created automatically from what you declare; you don't
re-declare $currentUser (it's always available).
Load the Lead
The button gives us an id, but to change a field we need the whole record. That's a query node.
-
Add a query node after start
Drag from the start node's output (the yellow dot) onto the canvas and choose query. Set its object to Lead.
-
List the fields you need — explicitly
Queries don't use a wildcard. Name the fields you'll touch:
_id,name,status. (For a lookup field you'd use its dotted form, e.g.owner__m._id.) -
Filter to the clicked record
Add one condition:
_idEqualrecordId. Because we want exactly one record, set the take mode to first and store the result in yourleadvariable.
first / last return a single record. all returns
a list. index returns up to N records (handy as a limit). We want one Lead,
so first it is.
For developers — query condition operators
Conditions use short operator codes: e Equal, n NotEqual,
i In, ni NotIn, l Less, g Greater,
m LessOrEqual, h GreaterOrEqual, c Contains,
k DoesNotContain, s StartsWith. For In/NotIn,
list values comma-separated with no spaces: Active,Pending,Draft. Every condition
needs all three parts — field, operator, value — or it must be removed.
Change the status, then save it
Two nodes finish the job: an assignment to change the value in memory, and an update to persist it.
-
Assignment: set the status
Add an assignment node. Target
lead.status, valueQualified— a plain literal (no quotes-as-variable, noformula:true). Literals are values typed exactly as written; variables are names that resolve to data. -
Update: write it back
Add an update node. Object: Lead; record variable:
lead. Since it's a single record, leave the list option off.
value: Active → the literal text “Active”. value: lead.name → the
value of that field. value: count + 1 with formula on →
a calculation. Pick the right one and the flow does what you mean.
We're updating one record, so a single update is perfect. The moment you act on
many records you must move every query/create/update/delete
out of loops — query before, write after. That's the whole of Module 05; just
file it away for now.
Save, compile & test
Your flow reads start → query → assignment → update. Time to make it
live and prove it works.
-
Press Save to compile
Hit Save. The platform compiles the flow — and compiling is activating. If anything's incomplete (a missing field, a half-finished condition), the compiler tells you exactly where. Fix and Save again.
-
Test it from the board
Open the Test panel, supply a real Lead's
recordId, and run. Watch the flow execute and confirm the lead comes back with Status = Qualified. Testing here means you never ship a broken button. -
Wire it to a button
On the Lead layout, add a button whose action type is function, pointing at
mark_lead_qualifiedand passing the record's id asrecordId. Open any Lead, click your button — done. (Button wiring in depth is Module 06.)
Receive → read → change → write, compiled and tested. Every other module is a variation on this loop: more data, more decisions, more automation. Pass the checkpoint to claim your First Build stamp.
Earn the First Build stamp
Five questions on what you just built.