Writing data: create, update, delete
So far you've read data with query and changed it in memory with assignment. To make those changes stick — to actually touch the database — you use one of three nodes.
- create — adds brand-new records to an object.
- update — saves changes to records that already exist.
- delete — removes records.
There is no single, generic “write” node — you always pick the specific one that matches what you mean to do. Each of the three shares the same three settings:
object— the target object's API name (e.g.task__m,lead__m; yours may differ).recordVariable— the variable holding the record (or records) to write. It must be a variable you've already declared and filled.isList:true— flip this on when the variable holds a list and you're writing many records at once.
That's the whole shape of writing data: change a value, then commit it with the matching write node. The rest of this module is two ideas — how to use each node, and where not to put them (inside a loop).
Some platforms lump all database writes into one “DML” step. Aquargin does not.
You always choose create, update or delete explicitly. If
you're looking for a node called DML, you won't find one — and that's by design.
For developers — why “DML” is split into three
“DML” (Data Manipulation Language) is the SQL umbrella term for INSERT,
UPDATE and DELETE. On the board those map one-to-one onto the
create, update and delete node types. Splitting them keeps
each node's intent unambiguous: a create can't accidentally overwrite, an
update can't accidentally insert. The recordVariable must be a declared
variable — write nodes never invent data; they persist what your flow already built.
Creating records
To create a record you do two things in order: build it in an object variable with assignments, then place a create node that writes it.
The create node never makes data out of thin air — it persists whatever you've assembled in the variable you point it at. So the pattern is always “fill the variable, then create it.”
Single record vs. a list
The only difference between writing one record and many is the shape of the variable and one checkbox:
- One record → an
objectvariable. LeaveisListoff. - Many records → an
object-listvariable, and setisList:trueso the node writes the whole list in one go.
Example: create a follow-up Task
Say a button should drop a follow-up task onto a lead. Declare an object variable
task (of object task__m), fill its fields with assignments, then create it:
-
Build the record in a variable
Declare an
objectvariable namedtask. With assignment nodes, set the fields you need —task.subject = "Follow up",task.dueDate,task.relatedTo = lead._id, and so on. (Field API names vary by org; you'll pick them from dropdowns.) -
Add a create node
Place a create node after your assignments. Set
objectto Task (task__m) andrecordVariabletotask. Since it's a single record, leaveisListoff.
Need a task for every lead in a list? Build each one and collect them into an
object-list variable (with addToList), then point a single create node at
that list with isList:true. One node, many records — which is exactly the mindset
Unit 4 makes a rule.
Updating & deleting
Updating a record is a three-beat rhythm you already met in Module 02: load it, change it, save it. Deleting is simpler still — you just remove the record(s).
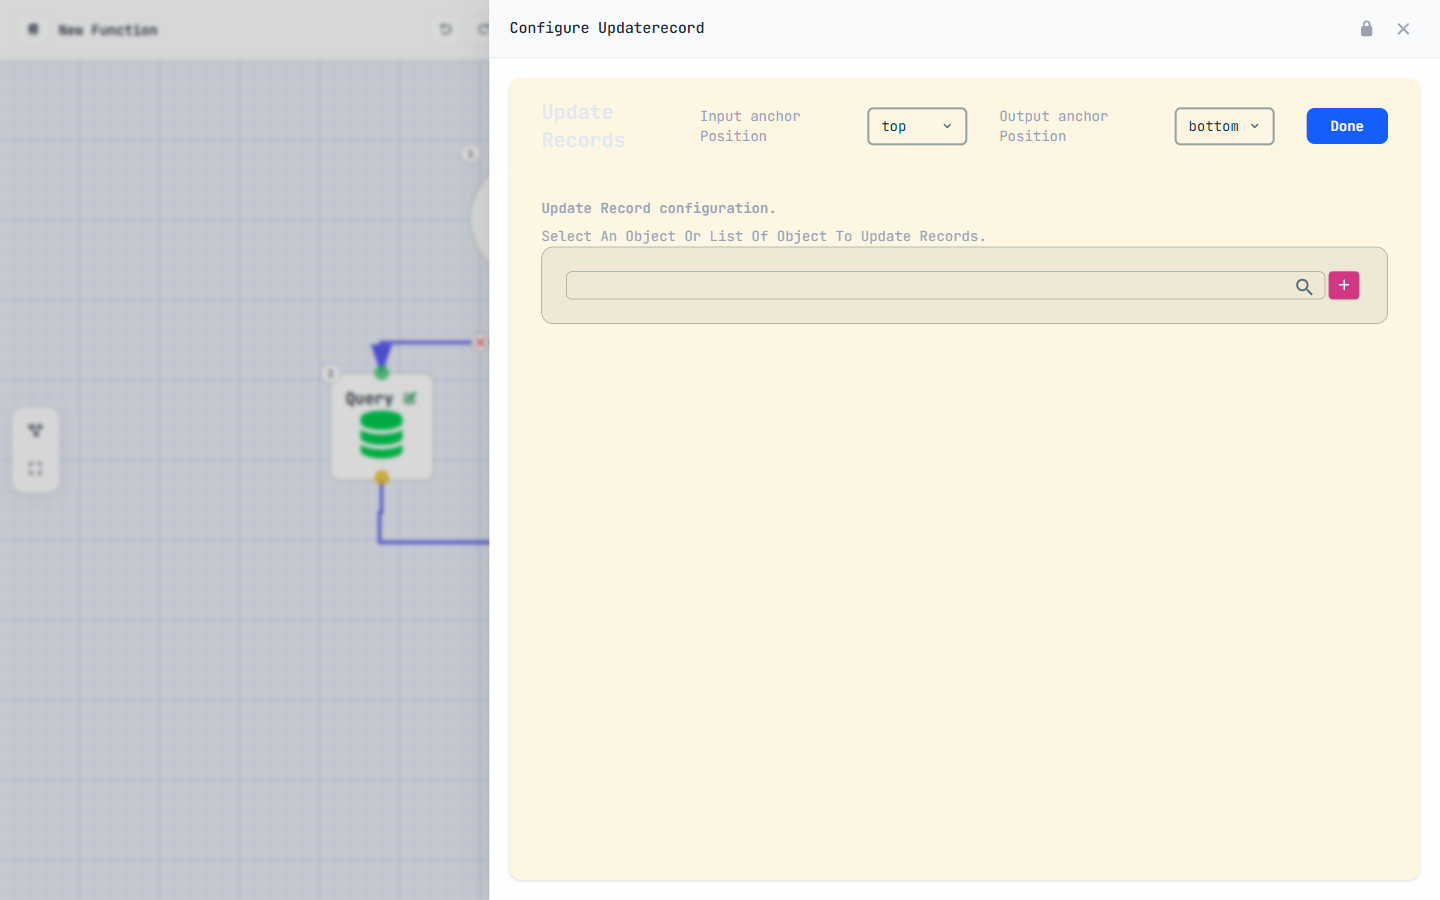
Updating: load → change → save
You can only update what you've loaded, so an update almost always follows a query:
-
Query to load the record(s)
Run a query to pull the record into a variable — a single record into an
objectvariable, or many into anobject-list. -
Assignment to change the values
Use assignment nodes to set the fields you want to change —
lead.status = "Stale". Nothing is persisted yet; you're editing in memory. -
Update to save
Add an update node. Set
objectto the target API andrecordVariableto your variable. For a single record, leaveisListoff; for a list, setisList:true.
Deleting: remove the record(s)
A delete node takes the same object + recordVariable
settings — point it at the record (or list) you want gone. As with the others, set
isList:true when the variable is a list. You generally query first so you know
which records you're removing.
Every write node — create, update, delete — behaves the same way: an object
variable for one record, an object-list with isList:true for many. You
don't learn three different nodes for “one” and “many”; you flip one checkbox.
For developers — update writes only what changed
An update persists the record held in recordVariable back to its
object — the _id in that record tells the platform which row to write. That's why
you load with a query first: the query brings back the _id (always include it in your
field list) along with the current values. Change a field, update, and the record is saved with
its id intact. A delete likewise keys off the _id of each record in the
variable.
The bulkify rule
This is the most important performance rule on the whole platform, so read it twice: never put a query, create, update or delete node inside a loop.
Why it matters
Each of those four nodes is an expensive database operation — a round trip to the data store. That's fine once. But put one inside a loop over N records and you've just asked for N separate database operations. Two things go wrong:
- It's slow. A thousand records becomes a thousand trips. What should take one operation now takes a thousand.
- It hits governor limits. The platform caps how many database operations a single function may perform. Loop-inside writes blow through that cap and the function is stopped.
The fix is to do one operation on the whole list instead of one operation per record.
The pattern
It's three moves, and the order is everything:
- Query BEFORE the loop — pull all the records you'll need in one go.
- Inside the loop, only cheap nodes — condition, assignment, and
addToListto collect records into a list. No database nodes here. - Write AFTER the loop — a single create / update / delete on the collected list with
isList:true.
The loop's only job is to decide and collect. The expensive write happens exactly once, outside it, on the list you built.
Never place a query, create, update or delete
node inside a loop. Query before the loop; collect with assignment / condition /
addToList inside; do one bulk write with isList:true after. This applies
to every function type — buttons, triggers, scheduled jobs and pages alike.
For developers — what “governor limits” actually cap
Functions run inside a per-execution budget tracked by the platform's governor: a maximum number of queries and DML operations per run. A query or write inside a loop multiplies the count by the iteration size, so even a modest list can exceed the cap mid-run and abort the function. Bulkifying keeps the count flat — one query, one write — regardless of how many records flow through. It's the same discipline as avoiding SOQL/DML in loops on other enterprise platforms: batch the I/O, iterate over data in memory.
A bulk update, end to end
Let's build the real thing: take a list of leads, mark every open one as Stale, and do it the bulkified way — one query, one update, no matter how many leads there are.
-
Query the open leads — BEFORE any loop
Start with a query on Lead (
lead__m). Include the fields you'll touch — at least_idandstatus— and filter to the ones you care about (statusEqualOpen). Use take mode all and store the result in anobject-listvariable, sayopenLeads. One trip to the database, every record you need. -
Loop over them — collect, don't write
Add a loop over
openLeads. Inside the loop, use an assignment to set the current lead's status —currentLead.status = "Stale"— thenaddToListthe current lead onto a secondobject-listvariable calledtoUpdate. No query, create, update or delete lives in here — only cheap, in-memory work. -
Update once — AFTER the loop
After the loop closes, add a single update node. Set
objectto Lead,recordVariabletotoUpdate, and turn onisList:true. Every collected lead is saved in one operation.
Whether openLeads holds five records or five thousand, this function makes exactly
one query and one update. That's the bulkify rule paying off.
Query before, collect inside, write once after — burn this pattern into muscle memory. It powers almost every serious automation on the platform. In Module 06 — Triggers, Jobs & Pages, you'll see this exact shape drive record-save triggers and nightly jobs, where a single run can touch thousands of records at once. Pass the checkpoint to claim your Bulk Master stamp, then carry on.
Earn the Bulk Master stamp
Five questions to lock in Module 05.